Golden Sun Walkthrough - Chapter 4
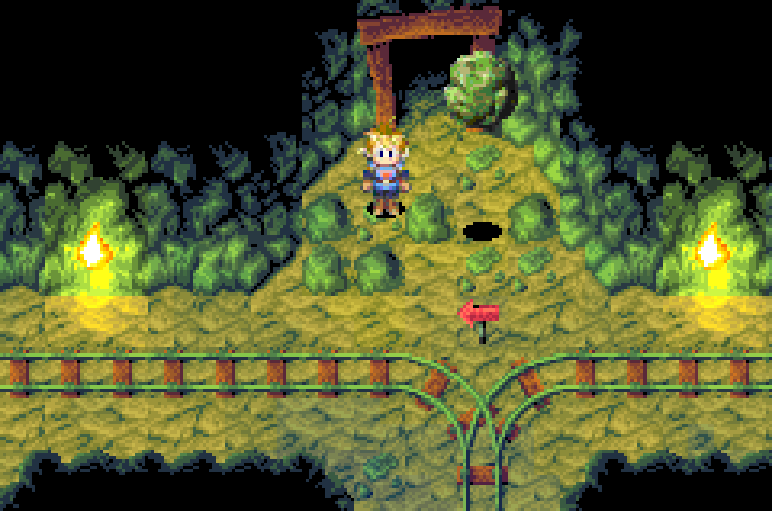
As I said at the end of the last chapter, when you are ready to continue with the story enter the mine at the bottom of town and follow the tracks to the split (pictured above). Use your new found Lift Psynergy on the boulder here and you'll be able to reach the doorway above it.
When you go through the doorway the path will split into three, the left route requires you to use Move Psynergy on a pillar to pass. You'll find a Vial inside a chest behind this pillar. The middle path requires you to use Lift Psynergy on the boulder to pass and this route will lead you out to the World Map.
On the World Map you'll want to enter the town that is immediately to your left called Lama Temple. Enter inside the large building in the north of Lama Temple and you'll get a scene with Master Hama and the group during which Ivan will be taught how to use the Reveal Psynergy.
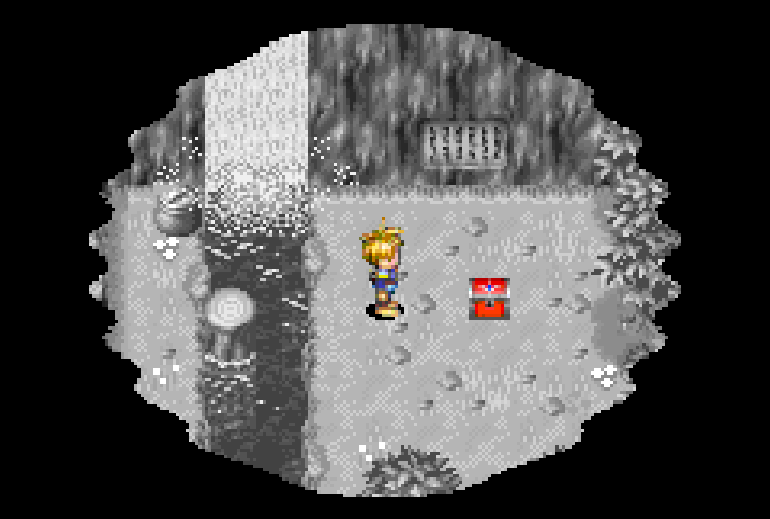
You can learn how Reveal works right now by exiting this building and going across the river to the right. There will be some writing on the wall to the north and a stone sitting in a circle of rocks. Use Reveal here and the stone that's sitting there will turn into a treasure chest for you to open (pictured below). Inside the chest you'll find the Water of Life item.
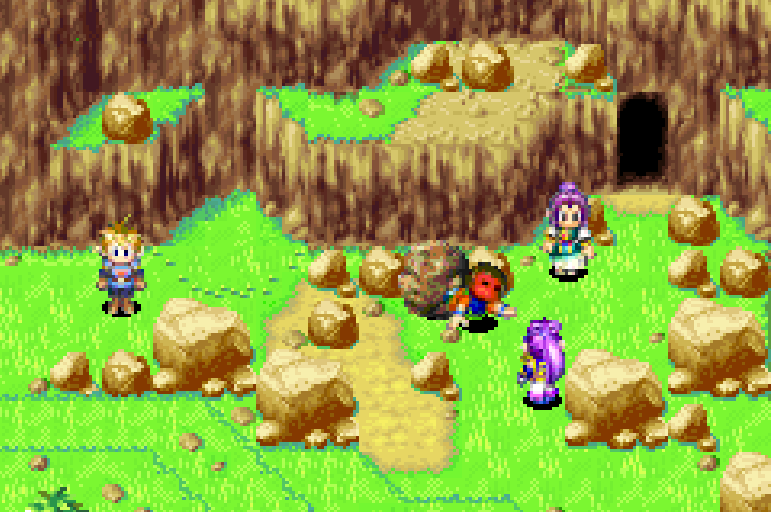
Leave Lama Temple and go directly east to return to Alpine Crossing. Immediately upon entering this area you'll see Master Hama, Feizhi and Hsu stuck under the boulder. Use Reveal to uncover a nearby doorway and then enter it. Once you get over to where Hsu is use the Lift Psynergy to move the boulder after which there will be some dialogue.
You'll automatically be returned to Lama Temple during the scene, go through all the dialogue then leave Lama Temple a second time. Our next destination is going to be Lamakan Desert which is southwest of Lama Temple. This desert has a new mechanic which you'll have to pay attention to as you make your way through this area - temperature.
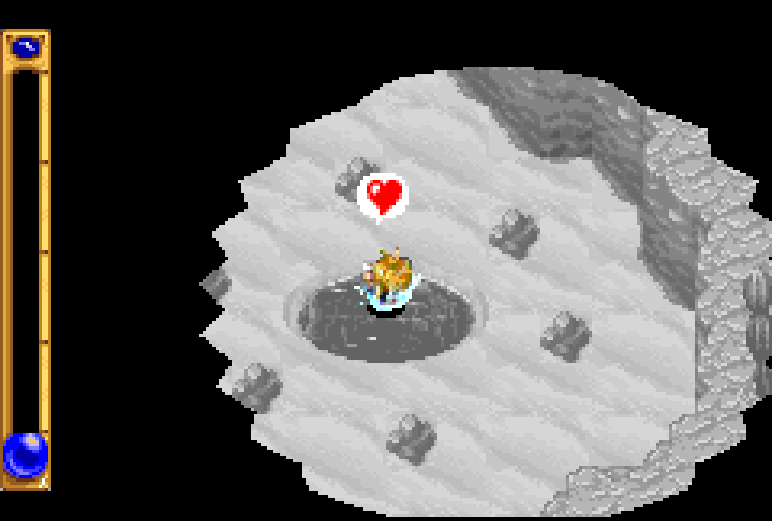
On the left hand side of the screen you'll see a bar that quickly fills up whenever you travel across the sandy parts of this desert. In order to lower this bar you'll need to swim in an oasis, as shown in my screenshot below. To discover an oasis you'll need to use your Reveal Psynergy in a circle of rocks; this will typically reveal an oasis for you to replenish your characters in.
Aside from the temperature mechanic the Lamakan Desert is pretty straight forward. Getting too hot isn't a death sentence either, you take some damage then the meter resets. You'll actually probably fill it up a few times before you can find an oasis.
I recommend that you use Reveal on every circle of rocks you come across, aside from an oasis some of them will have Ant Lions and others will have chests with items. You can find a Vulcan Axe, Potion and a Psynergy Stone in this first part of the desert. Further into this desert you'll also find a Djinni named Smog inside one of the rock circles - head over to my Djinni Locations (Part 2) Guide for more information.
The screen with the Djinni is very big and also contains some treaures like Lucky Pepper (in the west by a sand waterfall), 777 Coins and a Psynergy Stone. Lucky Pepper gives you a permanent boost to Luck! When you're ready to exit the large map with the Djinni go west and search the western fall. If you remember where you got the 777 Coins then it's west of this location.
On the next screen you'll have to run across sand-rivers of sorts that will push your character down. Stay close to the top of the river and you'll have no problem getting across. After the sand rivers you will have to run through a canyon, it'll eventually lead you to a dead end with a sand waterfall. Use Reveal at this location and you'll uncover a hidden path that we need to follow.
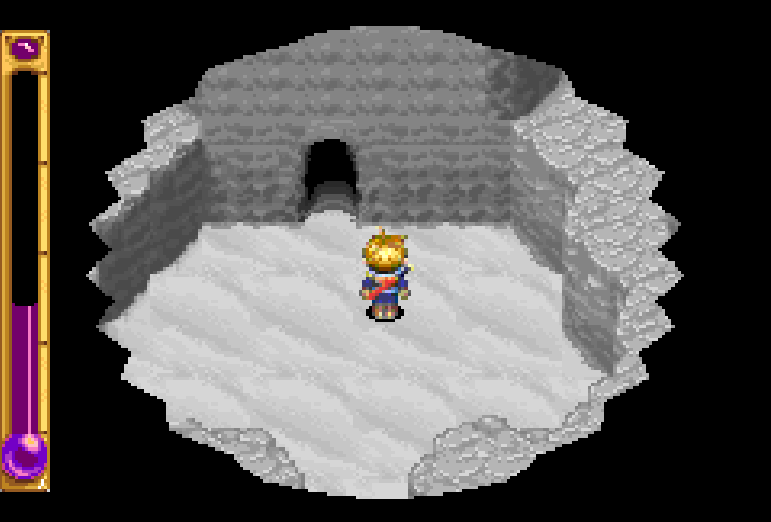
Use Reveal at the sand waterfall to uncover a hidden path
Head through the short cave and you'll come out near another sand river. This time you'll want to climb down the ladder and go into the sand. You'll find an oasis, an Ant Lion and a chest with Mint inside. Mint gives you a permanent boost to Agility! After grabbing the Mint cross the two sand rivers on this map and go into the northwest corner where you'll find another conspicuous sand waterfall.
Use Reveal on this sand waterfall and you'll find an enemy guarding your doorway out of here. Interact with it once you're healed up and ready to fight because this is going to be a tough battle! The name of the boss is Manticore and he will sometimes attack twice during a turn and almost all of his attacks hit multiple targets or inflict a status ailment.
He also has a really annoying skill called Death's Embrace that marks a character for death. 4 flames appear above their head and one flame vanishes per turn, once all of them are gone that character gets KO'd. After you've defeated the Manticore you'll want to use Reveal again then go through the doorway. It's a linear path through a tunnel before you find yourself back on the World Map.
Our next destination is the town of Kalay which is northwest of our current location. However, you'll want to stop by a location on the Overworld before we get there to get a new Djinni. For the exact location check out my Djinni Locations (Part 2) Guide. There's also a Djinni we'll be getting in Kalay too.
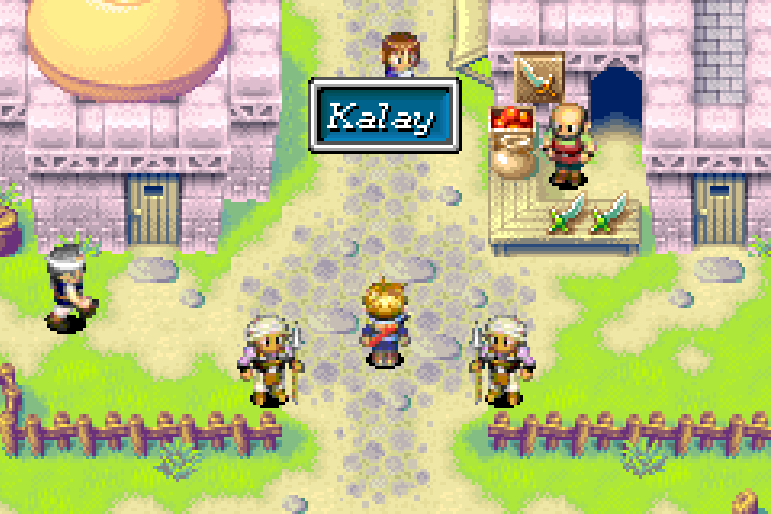
There are a few things we need to do inside of the town of Kalay, one of which is get the Djinni Scorch. You'll also have to talk with a few people in town to update your story quest, a list can be found below of exactly who you need to talk to and where they are.
If you'd like to collect some extra treasures search the palace after the scene. You'll find a Nut in a barrel next to the stove in the kitchen and a Water Jacket inside a chest near some beds in the left hall. There are other items you can find too by searching the environment but these are the easiest to explain and the most useful.
Kalay To-do List:
1. Obtain the Djinni Scorch from within the town.
2.
Speak with the tour guides inside of the Inn (they have satchels on their backs).
3. Talk with the tour guides outside of a building in the bottom right of town.
4. Visit Hammet's Palace in the north for some scenes and dialogue.
5. Try and exit town to trigger a scene with the tour guides.
The scene with the tour guides will trigger when you leave Kalay assuming that you spoke with them inside of the Inn and outside of the one building. Once you watch this scene and you've done everything else in town you're free to leave. Before we continue with the main story I strongly recommend that you do some back tracking to collect two more Djinn.
North of Kalay you'll find the town of Vault which is the second place we visited at the start of the game. Further north of Vault you'll also find the town of Vale which is where we originally started our adventure. Both of these towns have Djinni in them that we can get now that we're higher level and have more Psynergy available to us.
You should take some time off from the main quest and head north to collect both of these Djinn. For more information about how to obtain both of these Djinn check out my links below.
Continue to Djinni Locations (Part 2) Guide
How to get the Djinni In Vault Youtube Video
How to get the Djinni in Vale Youtube Video
After you've collected both of the Djinn it's time to return to the Kalay area. To the west of Kalay you'll find a location called Kalay Docks on the World Map. Enter it and you'll have a short scene after which you'll want to go into the nearby building and buy tickets to board the boat.
On the boat there is going to be a couple of things we have to do in order to advance the story. You can do most of these tasks out of order, just make sure you start with the first one and end with the final two.
Kalay Docks Boat Step-by-Step List:
1. Approach the Captain on the boat's deck for a scene.
2. Enter the door on the deck of the ship to watch a scene involving the tour from Kalay getting impatient.
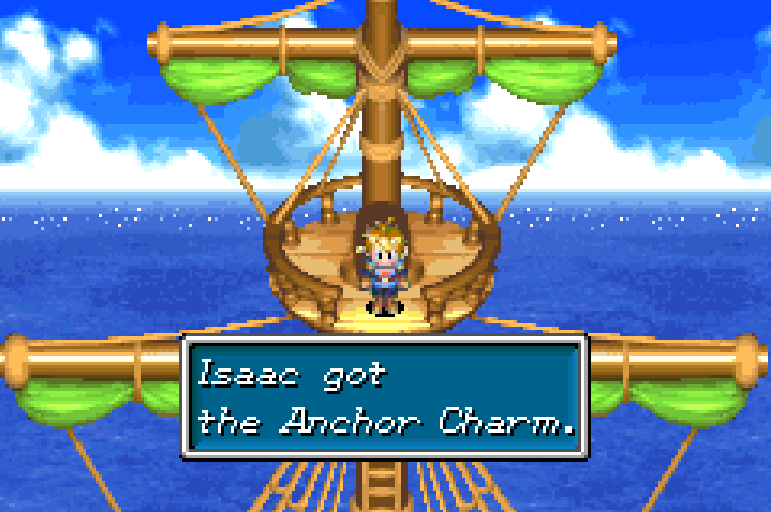
3. Climb the Mast on the ship and inspect the top area to obtain an Anchor Charm item.
4. Enter the Captain's Chambers and witness the scene between him and the passengers arguing.
5. Give the Captain the Anchor Charm you found earlier.
6. Head downstairs where the oarsmen are for a scene.
After the scene involving the oarsmen the boat will finally sail. While you're out at sea you will have to protect the boat from monster attacks - each time the boat is attacked you'll have to fight enemies then choose a new oarsmen from the passengers upstairs. Rinse and repeat this process 3 times and then you'll face the boss, a Kraken!
My usual advice against bosses still stands, unload on it with your strongest magic based attacks and keep your party alive with Cure and Ply. When the fight is finally over you'll want to return to the bottom of the ship with the oarsmen for another scene - you'll have to pick the last oarsman from among the passengers and then return downstairs one last time.
Watch the last scene then depart the boat once it finally arrives at land. A little bit to the east of the docks you'll see the town of Tolbi which is our next destination.
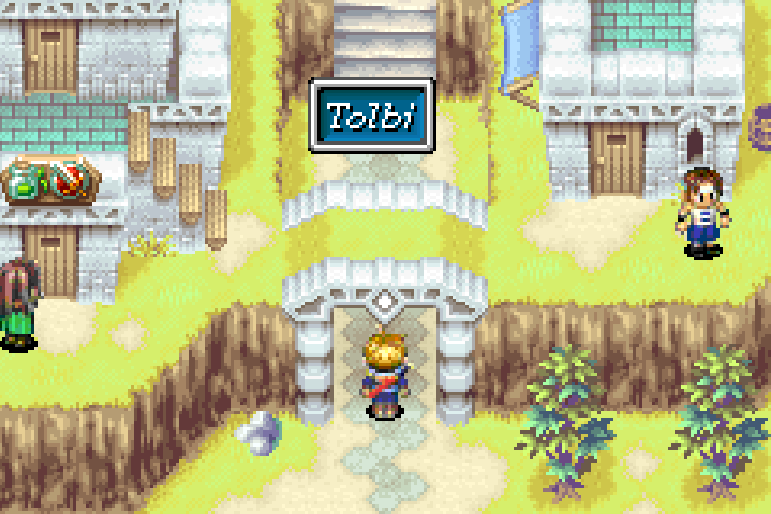
The town of Tolbi has a lot to do, most importantly you can get a new Djinni here. There are also many different shops that you can visit, mini games you can complete and some good optional treasures to obtain. One of the better items to find in this town is the Power Bread item which is found in a chest at the Graveyard, use Reveal to uncover the location.
In order to advance the story in Tolbi you'll need to visit Babi's Palace. There will be a scene when you first arrive with guards asking you if you've seen Babi and there will be another scene inside the palace involving someone named Iodem near a red carpet on the 2nd floor.
Before we continue with the story there are two more Djinni that we can get nearby on the Overworld. Hail, a Mercury Djinni is found northwest of Tolbi - you'll have to run around on the World Map and get into random encounters in the correct area. You can also get Ground, a Venus Djinni by traveling on foot back to Kalay Docks. For more information check out my Djinni Locations (Part 3) Guide. Don't forget to collect Ember, the Mars Djinni inside of Tolbi too if you have not already.
Tolbi Springs Mini Game: Some of the Mini games that you can do inside Tolbi have really good rewards. In particular the Tolbi Springs Mini Game will allow you to throw Lucky Medals into the fountain and win various item rewards. Speak with the man standing in front of the water fountain to play this game.
Game Ticket Mini Game: On the second floor of the Inn you'll find another Mini Game that allows you to use the Game Tickets that shops have been giving out like candy. It's essentially a slot machine and the more Game Tickets you use when you play it the greater your chance of winning.
When you are done collecting Djinni and playing Mini Games it's time to head over to Altmiller Cave so that we can continue with the main story. You'll find Altmiller Cave to the north of Tolbi on the World Map, it's pretty hard to miss.
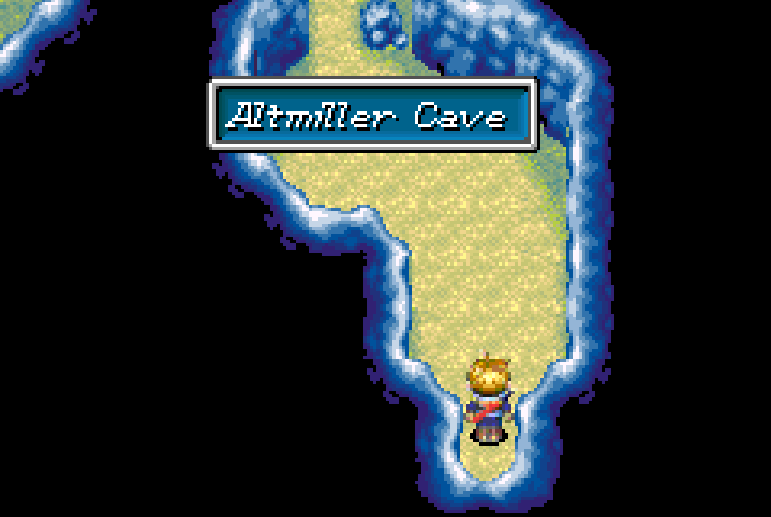
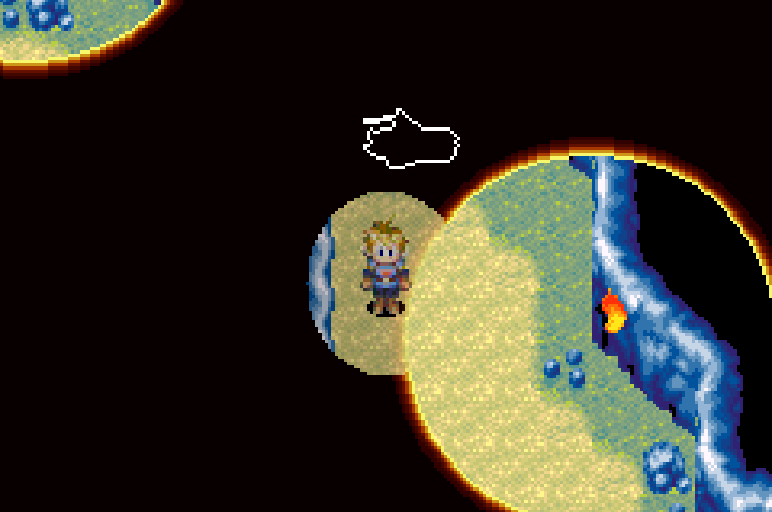
Altmiller Cave's unique gimmick is reduced visibility on the screen. This cave is extremely dark and you'll only be able to see a small distance around your character unless there is a nearby light source illuminating the area. Proceed along the linear path until you come across the outline of a collapsed person (pictured above). You'll also find a treasure chest with a Mimic inside this room when you first enter.
Speak with the outline of a person and the injured man will ask you to find his draught deeper in the dungeon. He'll also explain to you how to obtain it - keep this information in mind. After you go through his dialogue go through the door on his left and continue through the dungeon.
You'll eventually come across Squall, a Jupiter Djinni who is part of a puzzle that we're required to complete to proceed through the dungeon. For specific details on how to obtain Squall check out my Djinni Locations (Part 3) Guide. After you get Squall to join your party push the log column down into the ditch on the east side of the room and jump across to the next doorway.
The next room will bring back the reduced visibility gimmick. Start by going into the northwestern portion of this room where you'll find a treasure chest that has a Cookie inside of it. Cookies give you a permanent increase to PP when you use it on a character so it's definitely worth getting.
After getting the Cookie you'll want to go to the northwest portion of this room again - just take the opposite path. One path will lead you to the Cookie and the other path will lead you to a doorway that's a tad bit west of the Cookie. The next room you come across will have some pillars fallen over that you can't do anything with so you'll want to ignore them and instead head down to the bottom left of this screen.
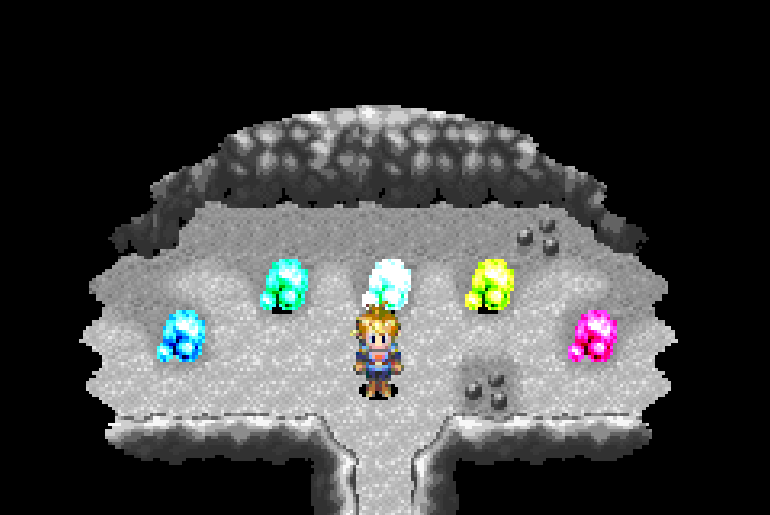
Here you'll find a ladder that allows you to climb up onto a ledge that wraps around this entire room. You'll be able to follow the ledge around then slide down right next to the next doorway. Inside the next room you'll find 5 rocks lined up (pictured below). This is the room that the invisible person told us about earlier.
Rock Color (Left to Right): Blue, Green, White, Yellow, Red
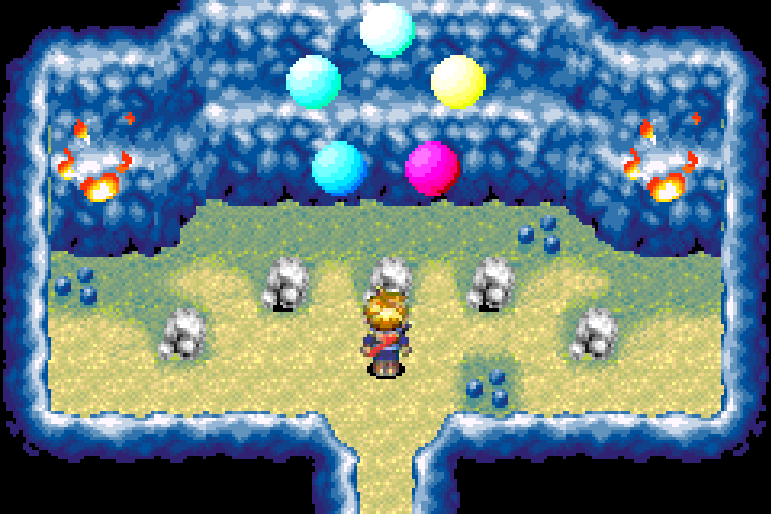
To start this puzzle you will need to rotate the left and right rocks by interacting with them. Doing this will make 5 floating spheres appear at the top of the screen (pictured above). Each of these spheres represent the color of one of the 5 rocks in this room. The sphere at the top is the color of the rock that you have to rotate.
In the screenshot above the color that's being shown is white which tells me that I have to rotate the white rock (the middle one). You'll have to rotate two colors that the spheres show you in order to complete this puzzle and reveal the doorway. Inside the next room you'll find the Mystic Draught item that we came here for. Once you pick it up you'll need to backtrack to the invisible man from earlier.
Depending on what you want to do you can either run back to the man from where we are now or use the Retreat Psynergy and run to him from the start of the dungeon. I personally like using Retreat because the path is much more linear. Once you give the invisible man the draught you'll get a scene during which it's revealed that the man is Babi, the person that the town of Tolbi was looking for.
Babi will invite you to participate in the Colosso tournament which is taking place in Tolbi before he leaves with the guards. Return to Tolbi and go up the central road in town until you reach the colosseum. You'll be stopped by guards on your way inside and they will bring you into the palace and explain how the contest works.
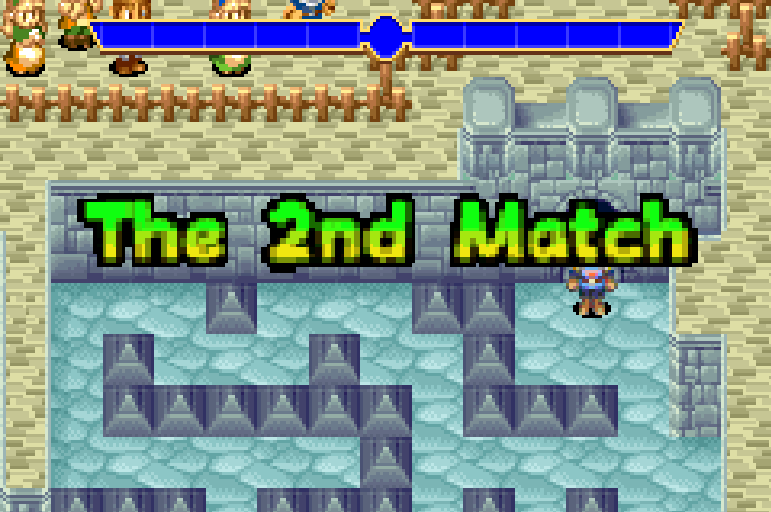
The way that Colosso works is pretty confusing if this is your first time. Essentially you will have 3 trials in total and each trial works like a round of that American Ninja Warrior show where people ran across obstacles and tried not to mess up/fall off. During each round of this tournament you'll go through multiple stages and each stage will have a puzzle to solve, hence the Ninja Warrior reference.
Before you begin each round you'll be able to assign party members to cheer you on. The significance of them cheering you on is they'll be able to use their Psynergy to help you if possible. Some courses during Colosso will have obstacles that your party member can use their Psynergy on so that when Isaac gets there he can basically avoid the puzzle entirely.
I've included a list of all the tournament rounds below and what stage you'll want to put characters at based on the Psynergy they have. This is really all you need to know about the Colosso tournament, though I can give you one last piece of advice... Save your game before doing this tournament because if you want to win it you'll most likely need to do a dry run first to learn every stage and how it all works.
Colosso Tournament Youtube Video - if you're interested in seeing how the whole tournament works and how to win check out that video.
1st Set of Finals Side-line Psynergy:
Stage 1: Move Psynergy
Stage 2: N/A
Stage 3: Growth Psynergy
Stage 4: N/A
2nd Set of Finals Side-line Psynergy:
Stage 1: Move Psynergy
Stage 2: N/A
Stage 3: Frost Psynergy
Stage 4: N/A
Stage 5: Force Psynergy
3rd Set of Finals Side-line Psynergy:
Stage 1: Frost Psynergy
Stage 2: Move Psynergy
Stage 3: N/A
Stage 4: N/A
Stage 5: Force Psynergy
Stage 6: N/A
You're required to beat the first two matches of the Colosso tournament in order to advance the game, however winning the third match is optional. If you do win the third match then Babi will reward you with a Lure Cap once the tournament is over and you talk with him inside of the throne room. One thing to note too is that transfering this save file over to Golden Sun: The Lost Age will result in the Colosso opponents you beat making a return appearance. Beating them again in this game will get you a Golden Shirt item.
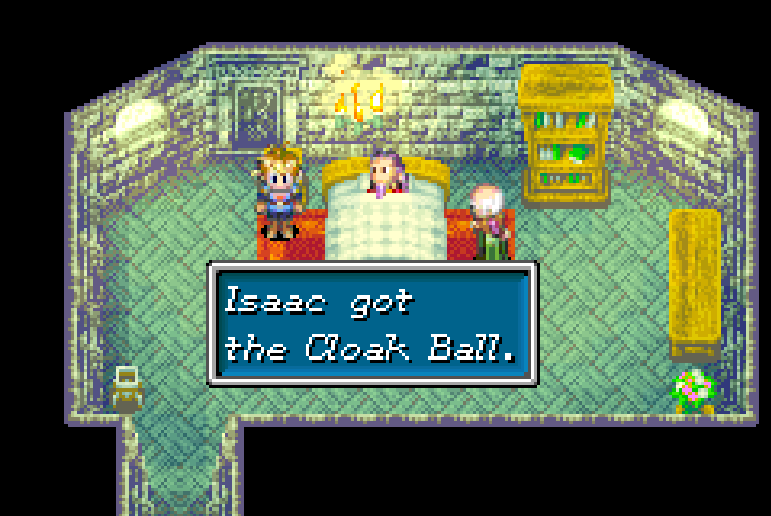
After the dialogue scene with Babi inside his throne room you'll want to follow him downstairs and grab the Cloak Ball item from next to his bed (pictured below). We'll need this item to progress in the story so make sure you get it before leaving!
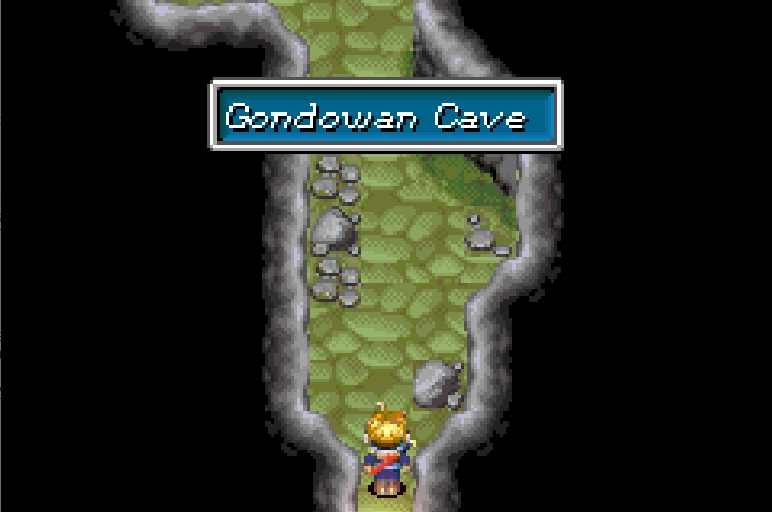
Once you've obtained the Cloak Ball you're free to leave Babi's Palace and the town. Before we continue with the story our next destination should be Gondowan Cave which is found to the southeast of Tolbi. Directly south of Tolbi you'll find Gondowan Passage - these two locations are not to be confused with each other.
Gondowan Passage is a large bridge that goes over the water and you'll find Iodem waiting for you here. We'll be going down here when we're ready to continue with the story. For now though our destination is the town of Lunpa which you may remember from the start of the game. There is a Djinni for us to collect there and various other goodies including future rewards in Golden Sun: The Lost Age (if you use the same save data).
In order for us to return to Lunpa we'll need to travel through Gondowan Cave then go north. Gondowan Cave is a pretty linear dungeon to navigate, it also contains some treasures you'll want to go out of your way for. When searching the cave you'll find an Apple as well as a Lucky Medal inside treasures. I recommend you explore to find both of these before continuing.
The dungeon of Gondowan Cave is pretty straight forward, you'll need to use the Move Psynergy and Lift to bypass the obstacles. You'll find two paths through this dungeon - the left/long path takes you to the two treasures whereas the other past takes you straight through the dungeon.
When you find yourself back on the World Map you'll want to travel far north of Gondowan Cave to Lunpa.
Continue to Golden Sun Walkthrough (Chapter 5)
Return to Golden Sun Walkthrough (Chapter 3)

